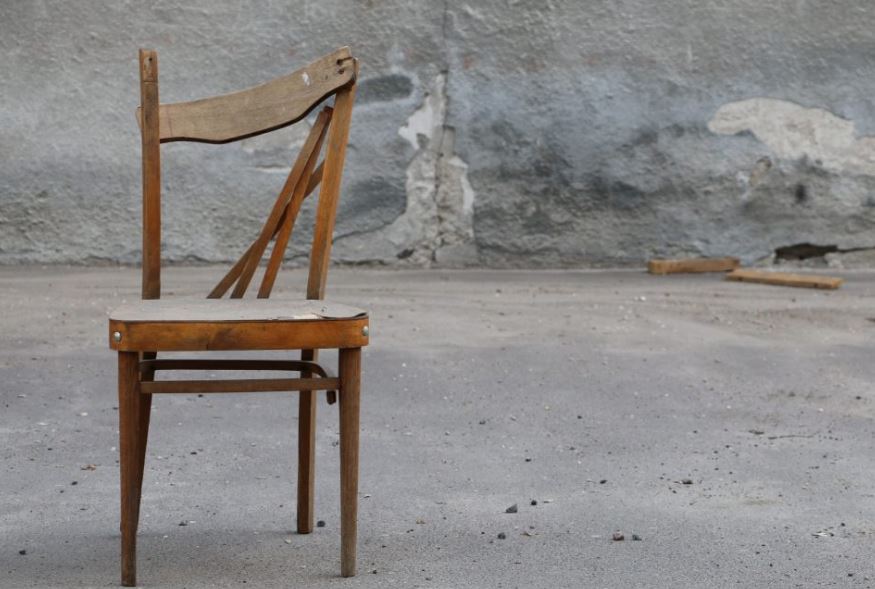
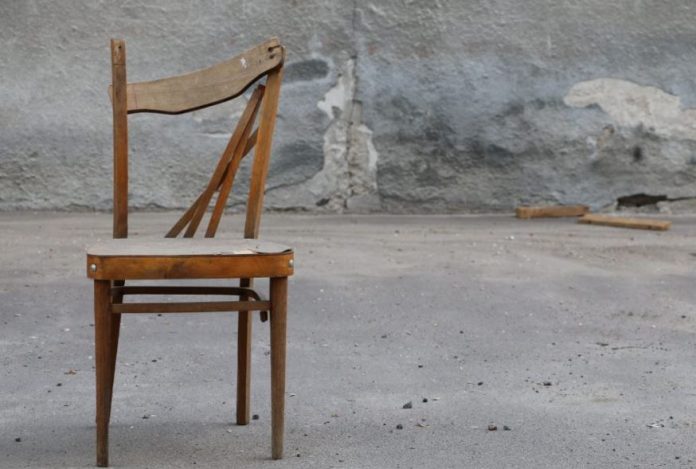
If you have got an old chair at home, do not rush to get rid of it. Try to renovate it!
According to ReclinerFAQ, you can easily cope with a chair repair by yourself, there is no need to go to a specialized workshop.
Every beginner will find chair repair a plain and affordable task. This article will tell you about a simple restoration of a chair with wooden armrests.

Tools for Repair
First of all, provide the necessary tools.
You may need the following instruments:
- A matching shade of stain;
- Construction stapler;
- Furniture polish (spray is OK)
- Screwdriver
- A grinder
- Upholstery (you can you curtain cloth)
- Drill
- Foam (to make the seats thicker and softer)
- Wooden shield
- Wood glue
Chair Disassembly
Remove the calico (spun-bond, seamy side) from the lower part of the seat. Then find four screws and remove them. The next step is to open the plywood or fiberboard backdrop sheathed with a cloth and find two screws.
After these simple actions remove the armrests.
The back and the seat are joined with two more screws. Remove them as well and disassemble the chair to separate elements. In the result, you will have the following elements of the chair: a seat, a backdrop, a back, and two armrests.
Covering Removal
You can remove upholstery in two ways:
- Carefully and with no rush pull out the staples with a staple remover
- To save time you can simply tear off the covering with pliers and a strong screwdriver.
When removing covers, note you will find a lot of garbage behind it.
Pull out the old staples or hammer them in. You can use old samples for DIY RV recliners or upholstery.
Chair Restoration
First of all, study all wooden parts for breakages and cracks. Use wood glue to repair them and then fix them with a 16mm staple.
If you notice during disassembly that one of the legs has cracked, you should replace it. A wooden shield can be used for this purpose.
Now comes the stage of chair parts sanding. This process is the most difficult and time-taking.
Use a special drill head to remove the polish. Then smooth out the parts with a grinder until wood shade.
Cut the wooden shield into the panels of the required shape. Cover the parts with stain and leave them for 5-6 hours.
In due time, cover the parts with furniture polish. If you want to maintain a wood structure, do not apply the polish with a heavy and shiny layer. The polish usually dries within 22-24 hours depending on the thickness of the covering.
Check the belt tightness. If they are not stretched out enough, you may remove a staple from one side and fix it tighter with pliers. Replace the torn belts. You may use plain elasticated furniture belts, elastic stripes, or any stiff cloth.
It is suggested to make a reel on top of belts. It covers the belts and is fixed by the staples. The reel will protect the belts prolonging their durability. And it will prevent the old foam rubber from dropping out.
Chair refilling
Firstly, check the state of the foam or foam rubber. If it is worn out, it is better to replace or try to renovate it.
To do so you need to measure the thickness of the old filling and add 1-2cms to it (foam has dipped with time) and it would be the depth you need.
Special foam with 22 -25 density and 1-3cms thickness is used for chair repair. It depends upon the state of the old filling.
To increase the tightness between the old and new foam, use spun bond or calico. New foam is glued and stapled along the perimeter.
Upholstery
After all preparation works are completed, cover the parts with a cloth. Take the measurements from the old covering adding a 3-5 cm allowance to each side. Proceed to cut after taking the measurements.
Remember to pull the fabric well. Fix the angles in the last turn. Attach staples with 2-3cms spacing. No need to put them closer as a bigger distance between them may result in cloth stepping.
When the covering is completed, make holes for the screws with a long screwdriver. Apply the staples around the holes to prevent the cloth from tearing.
Chair Assembly
Put the chair together in reverse order. You may replace nuts and screws. It is necessary to apply washers. With time the nuts may press into the wood, and the frame will become shaky. Attach new calico to the lower part of the seat and a piece of new cloth if available.
That’s it! The repair is completed. As you see, it is not difficult at all to make it by yourself. Just a desire is needed. Now enjoy your renovated chair in a vintage style.


your article is pretty much good but you should check out here more review and guides about recliners